Search Our Knowledgebase
Creating Voicemail Boxes
Overview
Creating voicemail boxes in PacketSky Voice SmartPBX allows you to set up individual voicemail accounts for users, ensuring that each user can receive and manage their own voicemail messages. This is essential for maintaining organized and efficient communication within your organization.
How it Works
- Accessing Voicemail Boxes:
- Navigate to the PacketSky Voice SmartPBX dashboard.
- Select the “Voicemail Boxes” tab to access the settings for voicemail boxes.
- Creating a New Voicemail Box:
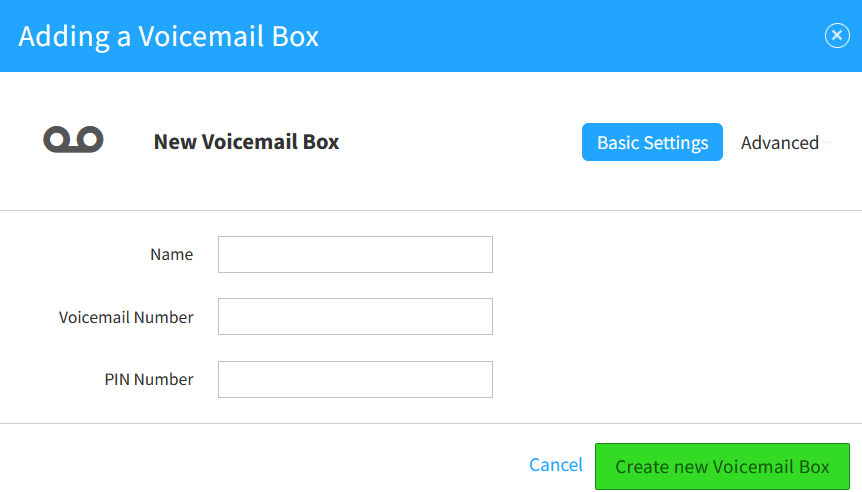
- Click on “Add Voicemail Box” or a similar option.
- Enter the necessary information for the new voicemail box, including:
- Name: The name of the user or department for the voicemail box.
- Voicemail Box Number: A unique number assigned to the voicemail box.
- PIN: A secure PIN for accessing the voicemail box.
- Configuring Voicemail Box Settings:
- Email Notifications: Set up email notifications to send voicemail messages to a specified email address.
- Greeting Message: Upload or record a custom greeting message for the voicemail box.
- Assigning the Voicemail Box:
- Assign the new voicemail box to a user or extension within the PacketSky Voice SmartPBX system.
Benefits
- Organized Communication: Individual voicemail boxes ensure that each user can manage their own messages, keeping communication organized.
- Improved Efficiency: Users can receive and respond to voicemails promptly, enhancing overall productivity.
- Customization: Configure voicemail boxes to meet the specific needs of users or departments.
By creating voicemail boxes in PacketSky Voice SmartPBX, businesses can ensure that each user has their own space to receive and manage voicemail messages, improving communication and efficiency within the organization.

